Hello
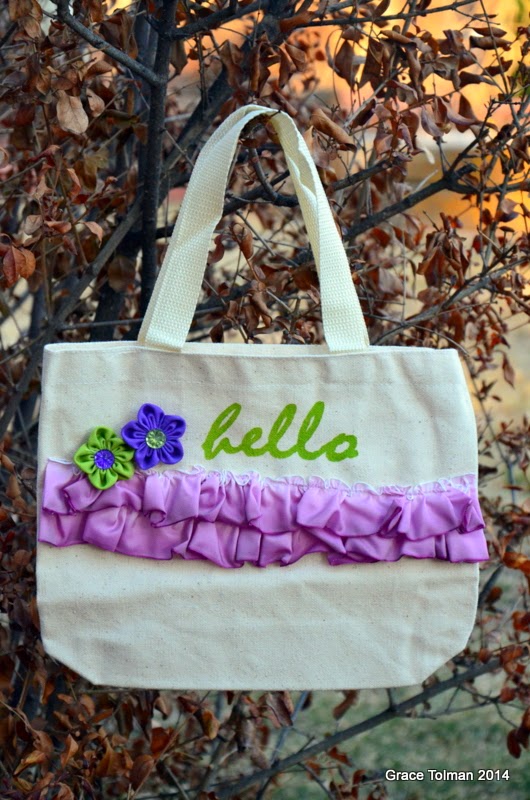
friends. Today I’m going to share with you some ways I sprinkle some ribbon
goodness into my scrapbook pages. "Selfies" are all the rage now and I decided to
print some of mine up for this “on-trend” scrapbook layout.
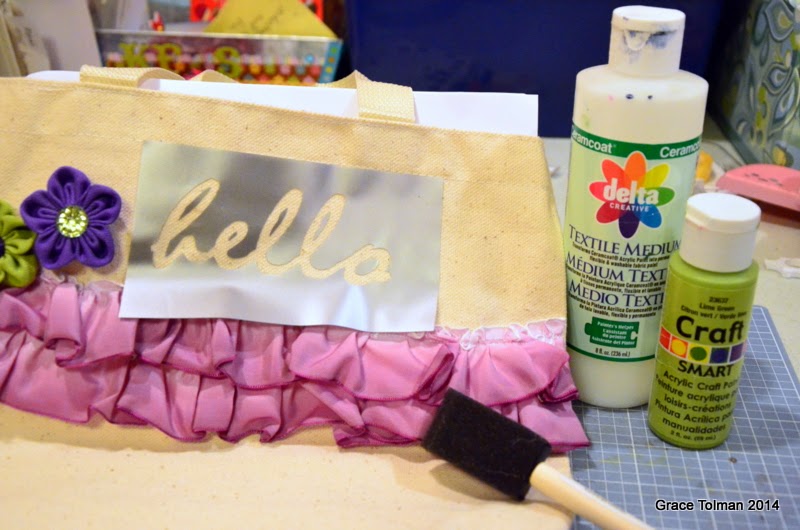
Two of my favorite
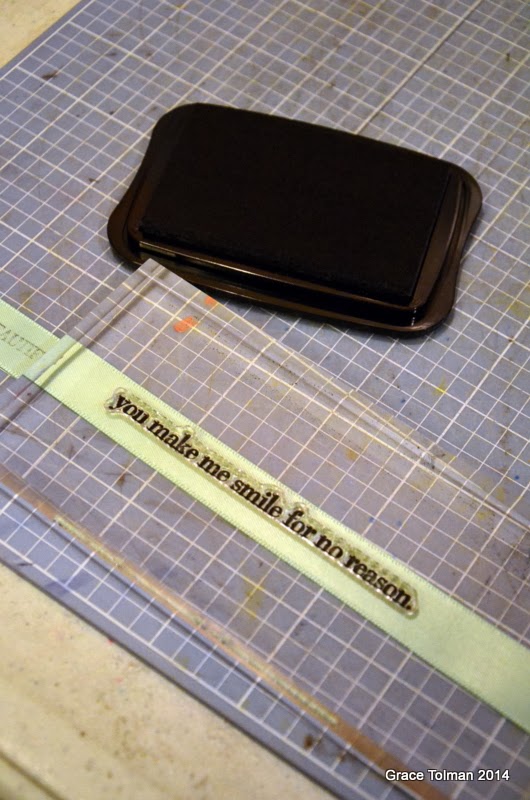
go-to techniques to add ribbon to a scrapbook page are to stamp with it and to
create a handmade accent with the trims. In this page, I stamped some sentiment
words on the satin ribbon using Stazon. This allowed me to personalize my
accents to match my theme.
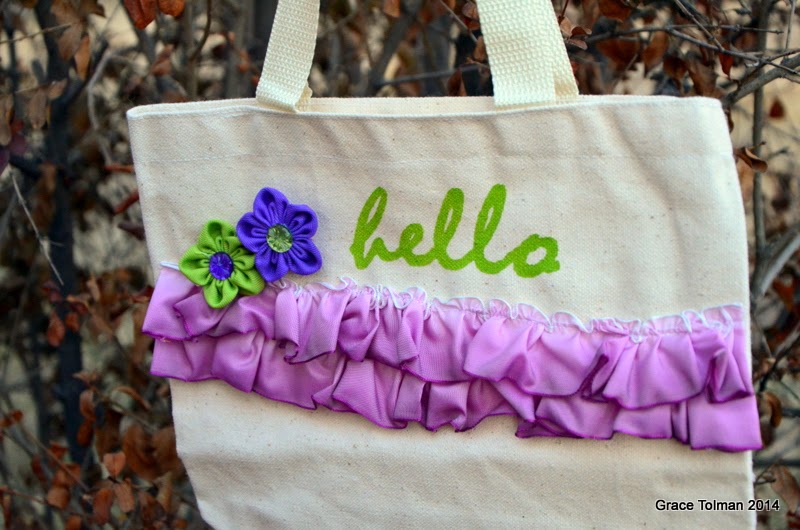
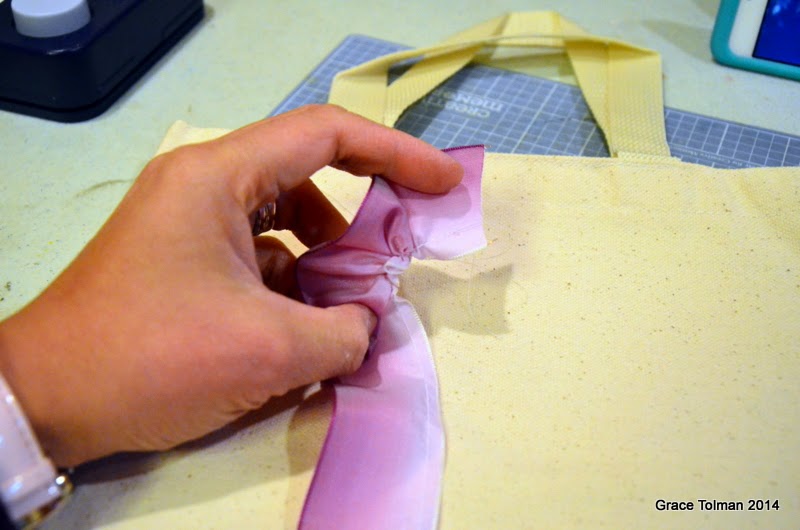
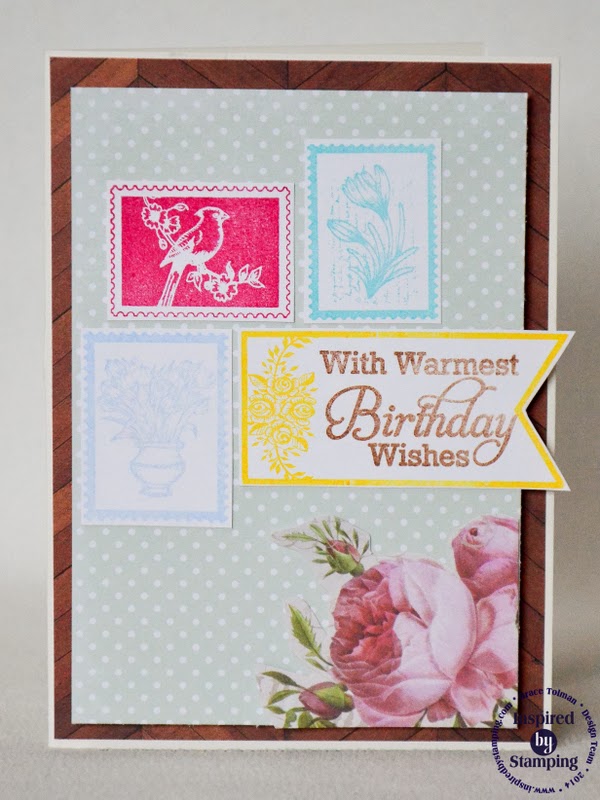
The second
one was creating this beautiful yellow flower with ribbon. I was inspired to
create it to match the rose necklace I was wearing on two of the photos.
Matching it with something in my photo creates cohesiveness in the project.
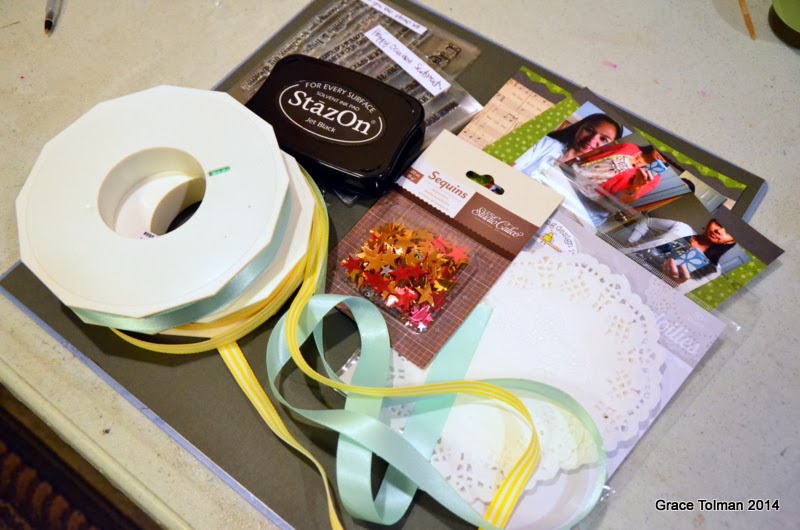
Instructions:
1. Gather
your supplies.
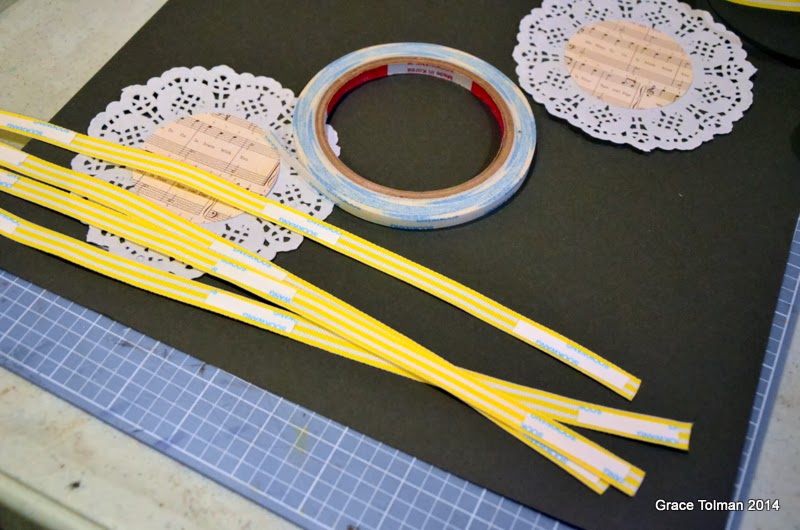
2. Cut a
circle big enough to fill the inside space of the doily from pattern paper.
Repeat the process one more time and adhere the circle shapes to two doilies.
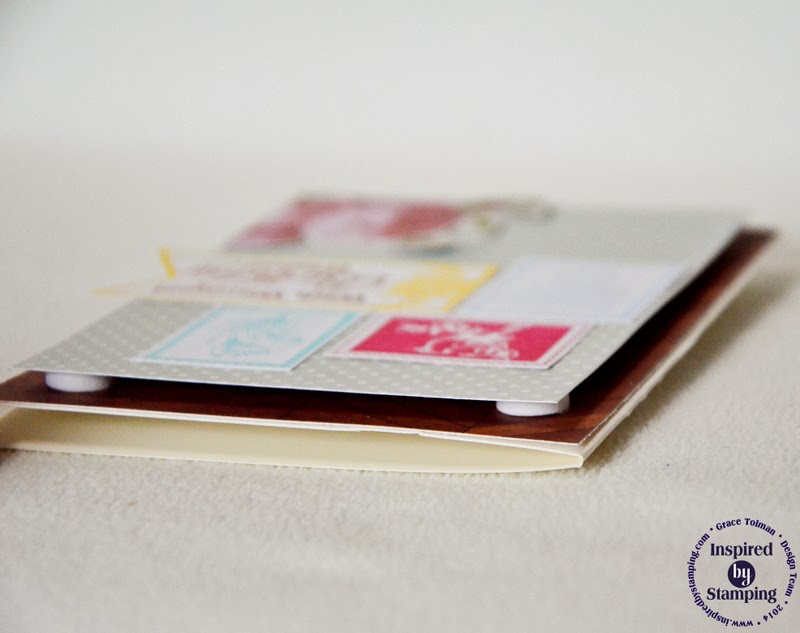
3. Adhere
the decorated doilies on two opposite ends of the cardstock base.
4. Cut out
11 ¾” strips from Yellow grosgrain ribbon, add adhesive on the back and adhere
to the cardstock creating a frame around the doilies.
Add the
photos on the center of the layout, overlapping some of them over parts of the
doilies.
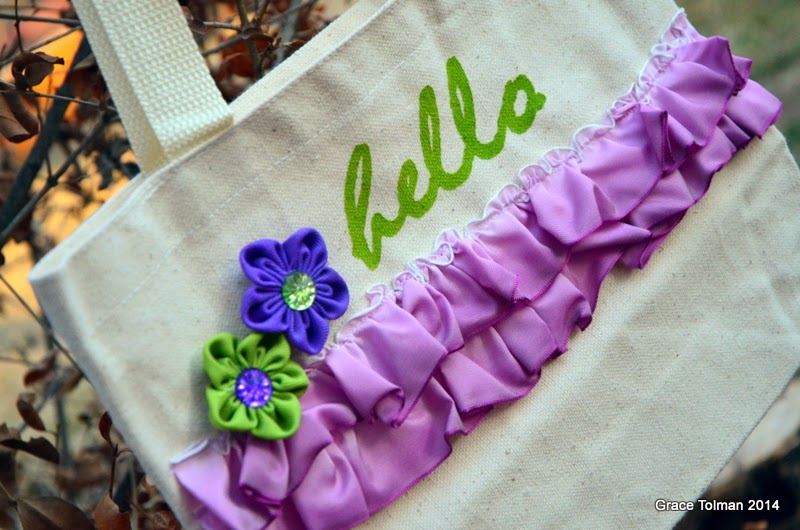
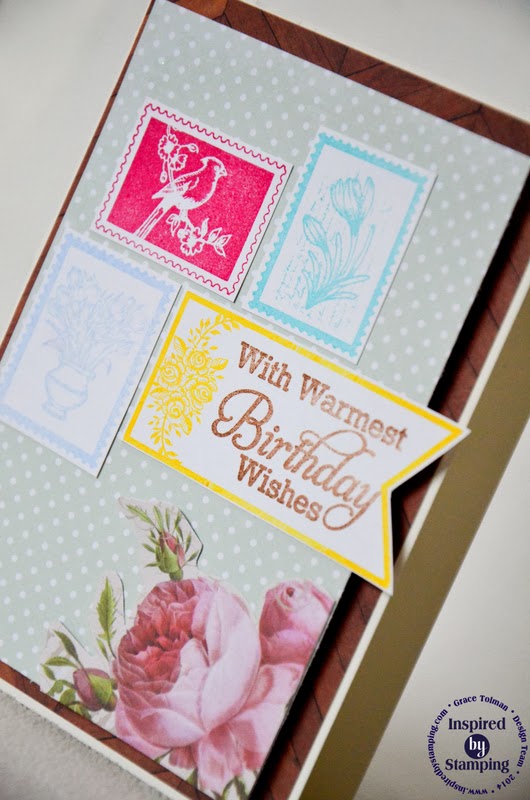
5. Stamp
sentiments on the Pastel green satin ribbon. Use an ink like Stazon to make
sure your stamped design transfers perfectly on the smooth surface of the
ribbon. Cut the ends into notches. Adhere to the bottom part of the photos.
Add stars in
between the sentiment phrases using adhesive dots.
6. Punch out
a small circle (about 1 ¼”) from pattern paper. Adhere a large glue dot over
it. Cut out 3” strips from Yellow grosgrain ribbon, fold in half and adhere to
the circle (with adhesive). Fill the circle with folded ribbon pieces until it
resembles a flower. Add a button (threaded with twine) on the center for a
finished look. Adhere to the layout.
7. Add the
title with stickers and cut out the printed journaling into strips and adhere
to the layout.
Thank you
for joining me today and I can’t wait to see how you use these techniques on your
next project. Happy Creating!
Till next time,
Grace
Supplies
Used:
Cardstock-
Worldwin Papers
Pattern
paper- Crate Paper
Doily and
Letter stickers- Doodlebug Design Inc.
Stars-
Studio Calico
Button-
American Crafts
Bling-
Bazzill
Sentiment
stamps- Inspired By Stamping
Circle
cutter- Creative Memories
Journaling
font- Century Gothic, MS Word
Twine-
Source Unknown