Hi guys and Happy Monday. Did you have a crafty or artsy weekend? Well I hope this one can inspire you to create something this week.
When I thought about the assignment of teacher gift for my latest Glue Dots project, I couldn’t help but think of the many art teachers out there that keeps on inspiring their students. I dedicate this project to them. I love that this project not only helps the teacher bring out his/her talent into a card but he/she can then send that colored card to someone special. Putting all the elements into a DIY kit container makes it even easier to keep everything organized and ready when the itch to color comes.
“Color Me” Art Card Kit
Designed by: Grace Tolman
Time: Approximately 45 minutes
Level: Intermediate
Size: 8 7/8 x 5 x 1”
Materials
• Cards- Pastels, Box of Cards, Die Cuts With a View
• Pattern papers- Minty Lace, 12x12 Stack, Die Cuts With a view
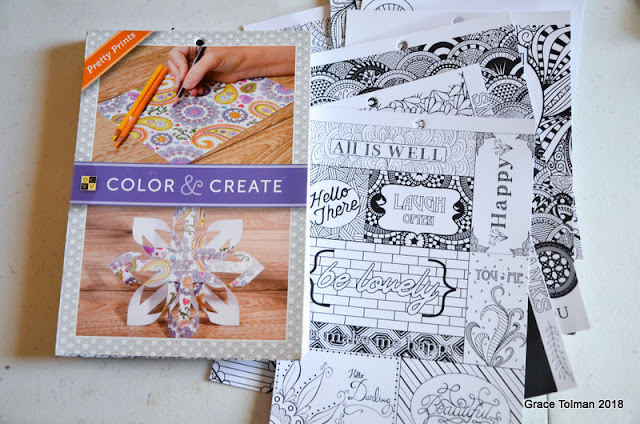
• Coloring Sheets- Pretty Prints, Color & Create, Die Cuts with a View
• Silk Ribbon- Green, Offray
• Cardstock- (Black) Doodlebug Design Inc.; (Beige) WorldWin Papers
Tools:
• Scor Pal
• Scissors
• Paper Trimmer
Directions:
1. Place the beige paper horizontally onto the Scor Pal and score at the 5” and 6” marks. Fold the marks.
2. Place some Glue Lines, Glue Dots® adhesive on the center edge of the kit container and adhere a piece of ribbon on both sides. These will be the ribbon closure for the kit container.
3. Adhere the container foundation (beige cardstock) to a piece of pattern paper from the paper stack using some more Glue Lines, Glue Dots® adhesive. Trim the excess paper and reinforce the folds.
4. Cut a 3” wide pattern paper and adhere to the beige cardstock (inside of the card kit container) towards the bottom. Place Glue Lines, Glue Dots® ONLY on the edges of the beige cardstock, leaving the top open. This will create the pockets to place elements in.
5. Repeat step 2 for another pocket right above the one just created using a different pattern paper.
6. Choose the “coloring” pages that you would like to make card fronts and sentiments with. Cut the card fronts to be 3x5” and adhere to the black cardstock using some Permanent Glue Tape, Glue Dots® adhesive. Trim to create a 1/8” mat all around the card front panels.
7. Repeat the same process with the sentiments you chose to include in the kit.
8. Add some Ultra thin dots, (Value pack) Glue Dots® adhesive to the back sides of the card front panels and the sentiments. Leave the clear backing of the adhesive intact. This way the Art teacher can take it off when he/she is ready to build the card together.
9. Stamp the labels for each element group within the card kit. Adhere the labels to the tops of the pockets using more Permanent Glue Tape, Glue Dots® adhesive.
10. Place the card bases, envelopes, card front panels, and sentiments inside the kit container. Tie the ribbons to close.
11. Present the gift with a box of colored pencils.
Thank you for stopping by.
Till next time,
Grace


No comments:
Post a Comment